2>What is CacheDivision
CacheDivision is a type of malware that specifically targets Mac computers. This malicious software is meant to slither into a user’s os and scam private content such as login credentials, monetary information, and confidential files. CacheDivision penetrates Mac pcs via several shows, which include harmful email attachments, fictitious utilities downloads, and jeopardized web pages.
The second CacheDivision invades a Mac system, it may work in the background without the user’s permission, in a hidden manner recording facts and sending it back to the crook’s servers. This infection could also open up backdoors in the device, tolerating cybercriminals to remotely entry the corrupted computer and conduct further malignant motions. To guard against CacheDivision and other sorts of malicious viruses, Mac users ought to periodically upgrade their device and security tool, evade tapping on controversial hyperlinks or getting not known files, and practice sheltered online browsing habits.
How CacheDivision Gets Installed
CacheDivision is typically installed by users, either knowingly or unknowingly. Often, this kind of utility is suggested via coupons or packaged with additional software, that will close people unclear about of where the utilities originated. Unfortunately, some free-of-charge downloads don’t offer appropriate leaking about bundled software which will be set up, well-known to accidental setup of CacheDivision.
To safeguard your Mac from unnecessary applications like CacheDivision, it’s fundamental to be careful when getting and installing a program, particularly from unfamiliar sites. Always look into the terms and conditions and securely reassess the setup procedure, searching out for any pre-picked checkboxes that mention additional applications setups. Additionally, deem via decent antivirus utility program to scan and detect your machine for likely risks.
Warning, multiple anti-virus scanners have detected possible malware in CacheDivision.
| Anti-Virus Software | Version | Detection |
|---|---|---|
| Tencent | 1.0.0.1 | Win32.Trojan.Bprotector.Wlfh |
| Dr.Web | Adware.Searcher.2467 | |
| Malwarebytes | 1.75.0.1 | PUP.Optional.Wajam.A |
| VIPRE Antivirus | 22702 | Wajam (fs) |
| McAfee | 5.600.0.1067 | Win32.Application.OptimizerPro.E |
| ESET-NOD32 | 8894 | Win32/Wajam.A |
| NANO AntiVirus | 0.26.0.55366 | Trojan.Win32.Searcher.bpjlwd |
| Malwarebytes | v2013.10.29.10 | PUP.Optional.MalSign.Generic |
| Baidu-International | 3.5.1.41473 | Trojan.Win32.Agent.peo |
| McAfee-GW-Edition | 2013 | Win32.Application.OptimizerPro.E |
CacheDivision Behavior
- Slows internet connection
- Modifies Desktop and Browser Settings.
- Distributes itself through pay-per-install or is bundled with third-party software.
- Installs itself without permissions
- CacheDivision Connects to the internet without your permission
- Common CacheDivision behavior and some other text emplaining som info related to behavior
CacheDivision effected Windows OS versions
- Windows 10
- Windows 8
- Windows 7
- Windows Vista
- Windows XP
CacheDivision Geography
Eliminate CacheDivision from Windows
Delete CacheDivision from Windows XP:
- Click on Start to open the menu.
- Select Control Panel and go to Add or Remove Programs.
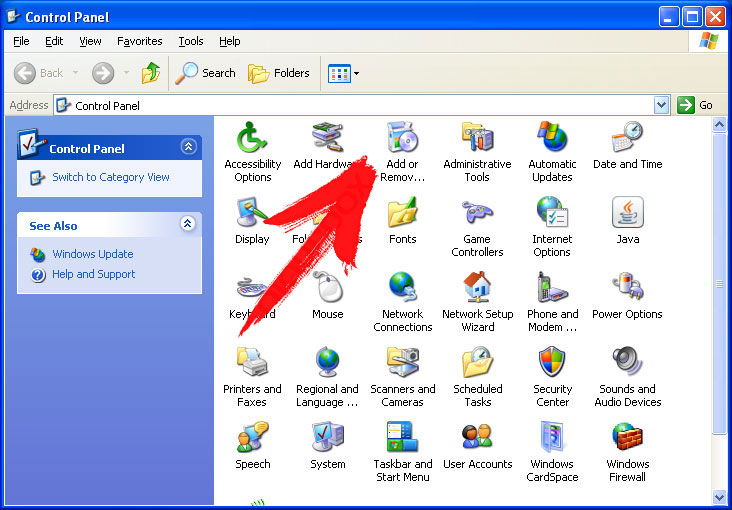
- Choose and remove the unwanted program.
Remove CacheDivision from your Windows 7 and Vista:
- Open Start menu and select Control Panel.
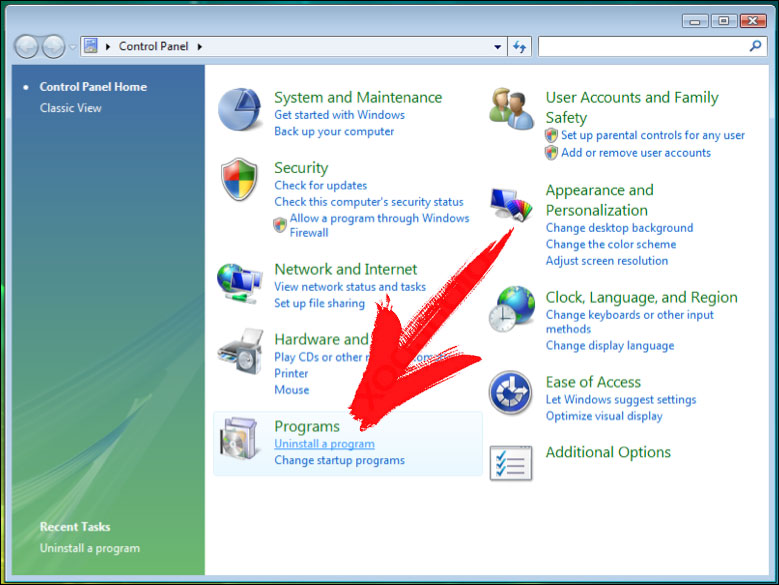
- Move to Uninstall a program
- Right-click on the unwanted app and pick Uninstall.
Erase CacheDivision from Windows 8 and 8.1:
- Right-click on the lower-left corner and select Control Panel.
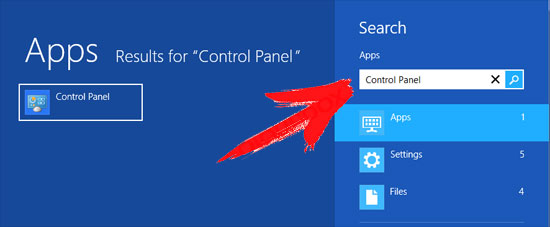
- Choose Uninstall a program and right-click on the unwanted app.
- Click Uninstall .
Delete CacheDivision from Your Browsers
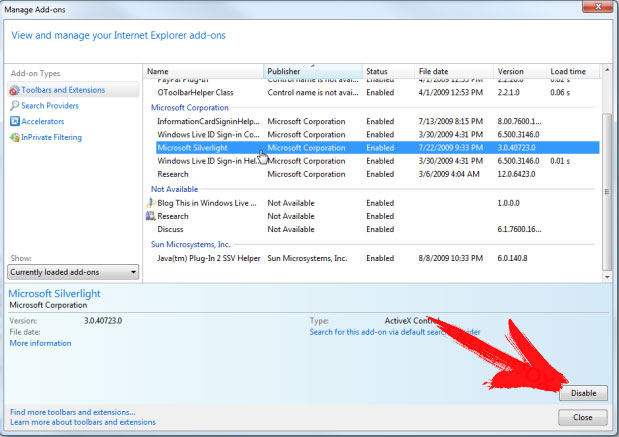
CacheDivision Removal from Internet Explorer
- Click on the Gear icon and select Internet Options.
- Go to Advanced tab and click Reset.
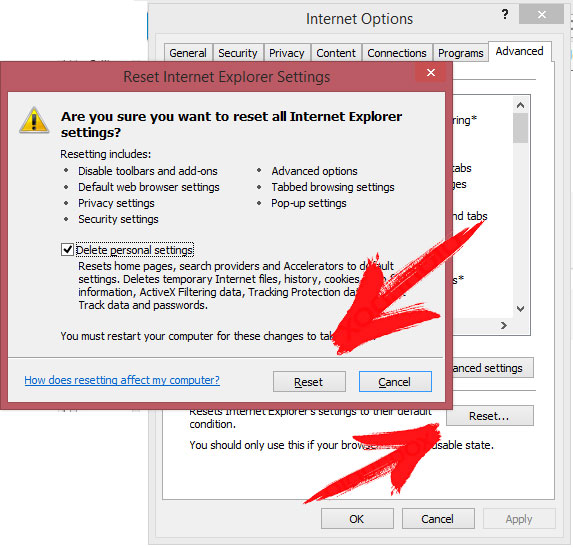
- Check Delete personal settings and click Reset again.
- Click Close and select OK.
- Go back to the Gear icon, pick Manage add-ons → Toolbars and Extensions, and delete unwanted extensions.
- Go to Search Providers and choose a new default search engine
Erase CacheDivision from Mozilla Firefox
- Enter „about:addons“ into the URL field.
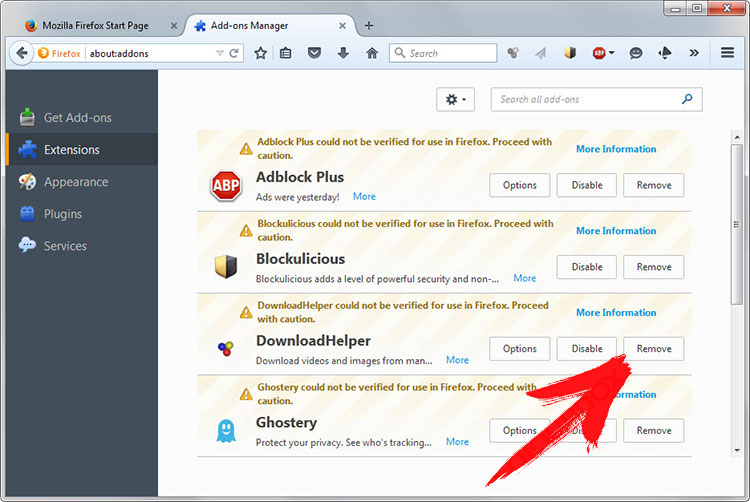
- Go to Extensions and delete suspicious browser extensions
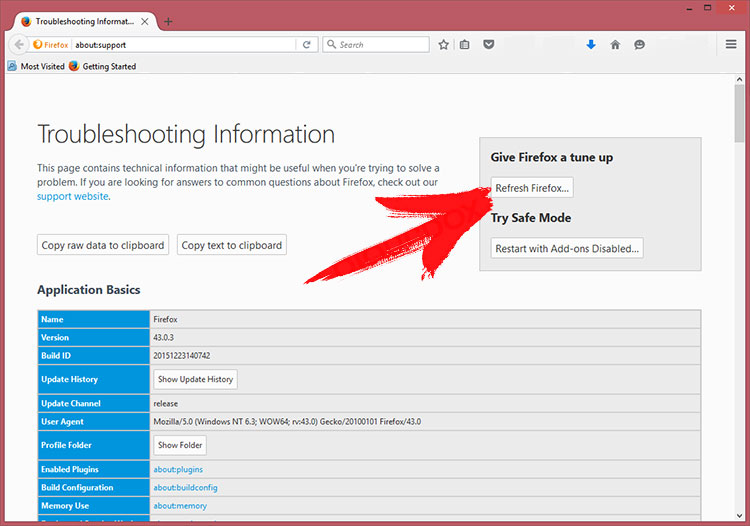
- Click on the menu, click the question mark and open Firefox Help. Click on the Refresh Firefox button and select Refresh Firefox to confirm.
Terminate CacheDivision from Chrome
- Type in „chrome://extensions“ into the URL field and tap Enter.

- Terminate unreliable browser extensions
- Restart Google Chrome.

- Open Chrome menu, click Settings → Show advanced settings, select Reset browser settings, and click Reset (optional).